First up is Flash. I heard back from him first, and he was direct and simple. He wanted a dish designed after the veteran terrorwing monster in Dragonspyre. Something that has always struck me about the draconians (why don't they have a pet yet!) is their wings. Their jagged, sharp, brown wings. This for whatever reason, made me think of brittle. Brittle for those who don't know, is a sugar syrup candy, which, when cooked to the right temperature, breaks off in jagged shards, almost like glass. In addition, there is usually some kind of nonperishable snack food mixed into the syrup at the last second, before it is poured out, cooled, and broken. With this brittle, I used roasted pumpkin seeds (it was the day after I carved a pumpkin for Halloween) so the timing was perfect. See Below: Veteran Terrorwing
If you'd like to make the pumpkin seeds yourself, it's super simple, and they taste great on their own. Just mix your washed and dried pumpkin seeds with ground cinnamon, ginger, cloves, and maple syrup. Then pour them onto a sheet pan and bake at 350 degrees (176.67 celsius) for about 15 minutes.
From there, we need the actual ingredients for the brittle, and it couldn't be simpler. All you need is sugar, water, ground cinnamon, and ground cayenne pepper. I know, that sounds crazy, but it's actually really good, and with a steady hand, it won't set fire to your mouth.
First off, add everything except for the seeds into a pot, and set it over high heat until it boils. From there reduce the heat to medium, and cook for another 5 to 7 minutes. From here you need to work quickly, as it sets up fast off the heat. Mix in the seeds with a wooden spoon, and then spread it out onto a sheet pan. From there, allow it to cool and break it up into pieces. That's all there is to it!
Next up is Iridian WillowGlen's request. She told me a bit about what she wanted hers to be. She mentioned her favorite world is Avalon, and how it's based off of medieval culture. She also noted how one of her favorite foods is apples. Well I happened to be in luck in this regard, as I know some odds and ends about medieval food myself, especially medieval England. Way back in the day, the English loved and I mean LOVED spices. Not only were they a sign of wealth, they created jobs thanks the British East India Company (as well as others like the Dutch). They also used a lot of bread. Back then, most common people didn't have fancy plates and utensils, or any for that matter. Oftentimes, food was served on big slabs of hard bread, or baked into hand pies. These crusts were usually eaten along with the food. Also, they loved dried fruits and fruits that were available fresh. Without modern medicine, the vitamins and minerals found in fruits and vegetables helped to keep people healthy.
Okay, history lesson over. When I heard Iridian liked apples, I knew immediately I could make apple hand pies. This would both allow me to capitalize on the pie aspect, but funnily enough, most of the spices associated with fall and apple pie, were also some of the spices that medieval people went crazy for. So without any further introduction, here are Avalon Apple Hand Pies!
Here's what you'll need to make them:
- 2 cups of flour
- 2 teaspoons of baking powder
- 3/4 teaspoon of salt
- 3/4 cup of milk
- vegetable oil
- 2 apples
- 1/2 cup of raisins
- ground cinnamon
- ground cloves
- ground ginger
- 1/4 cup (roughly) of brown sugar
- 6 Tablespoons of butter (softened)
First things first. There's an egg in one of those pictures for some reason. Not sure why it's there. Moving on! Peel and chop the apples into small chunks. Normally slices would be fine for a normal pie, but hand pies are more pocket sized, so chunks is the way to go.
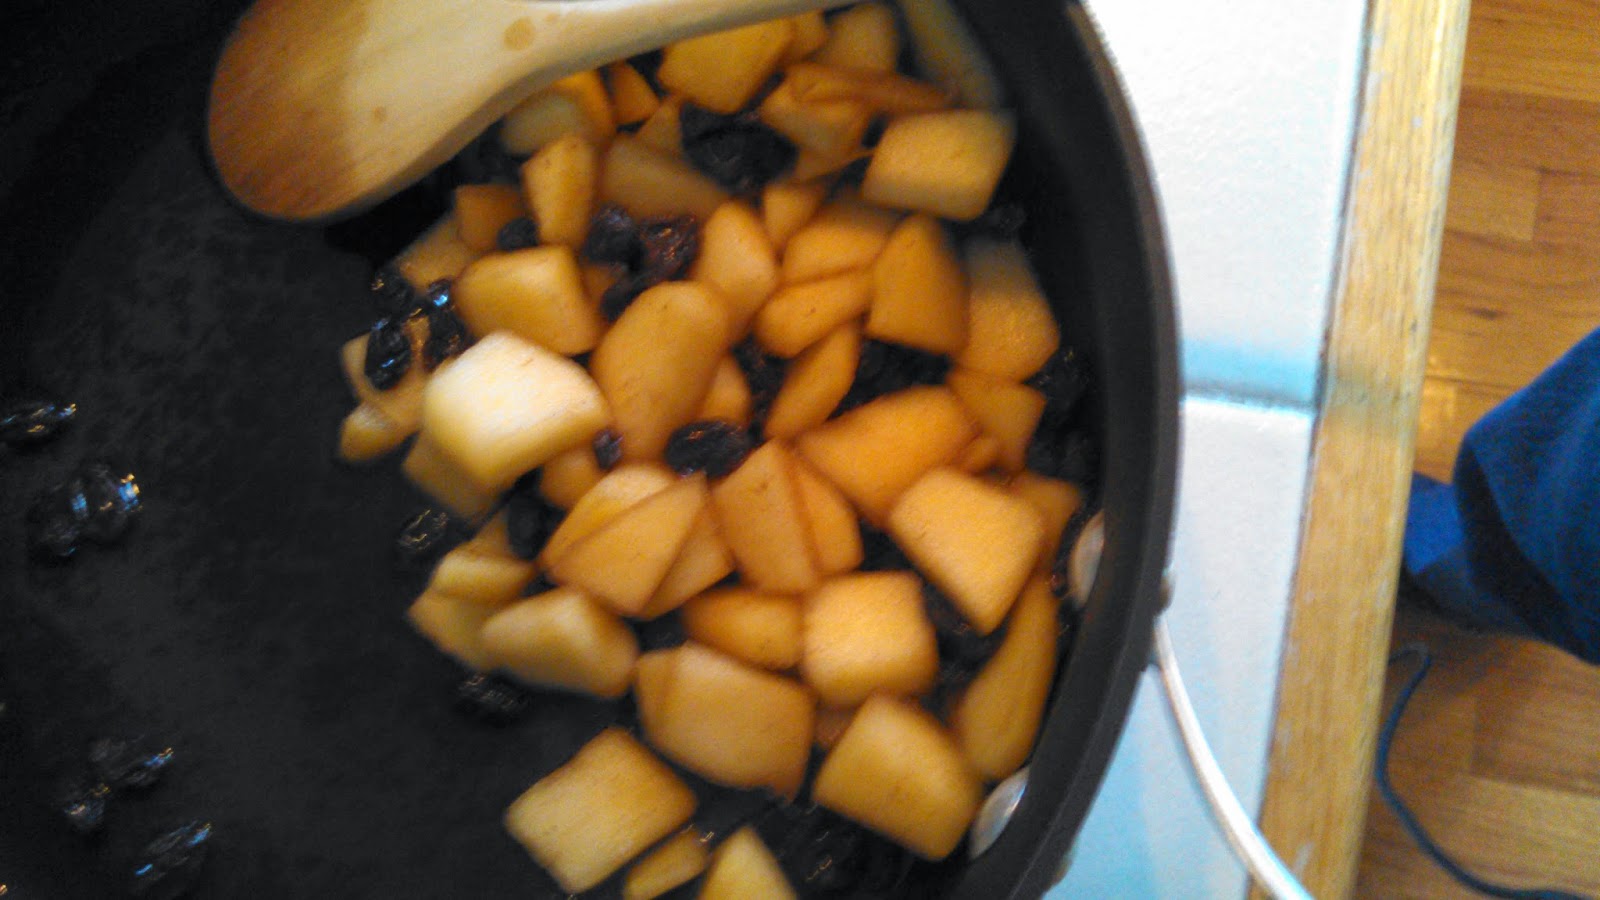
Then in a pan over medium heat, add the apples, sugar, raisins, and a dash of each spice. I also added some water, to help form a sauce, and to stop things from burning. Fruit loves to burn, it's our job to not let it. Cook everything down until the apples are soft and take on some color, and the sugar is fully dissolved.
Next we want to form the pie dough. Don't be afraid, it's not scary like a real pie, and it can have cracks and lumps. Measure the flour, baking powder, and salt into a bowl, and give it a shake to combine them. Then take your butter, and cut it up into small chunks. Add it to the dry mixture, and using your fingertips, sort of rub it into the flour, combining it. It's kind of weird and unintuitive, but it works and gives it a great texture. Work quickly and with only the fingertips though, as we don't want the butter melting. From there, add the milk, and give it a mix with a wooden spoon to combine. Then turn it out onto a floured work surface, and flour your hands(trust me). Then knead it together. It'll be both crumbly and sticky, but kneading with flour and adding little drops of water as needed will form it together. It'll still be slightly sticky, but it'll be workable.
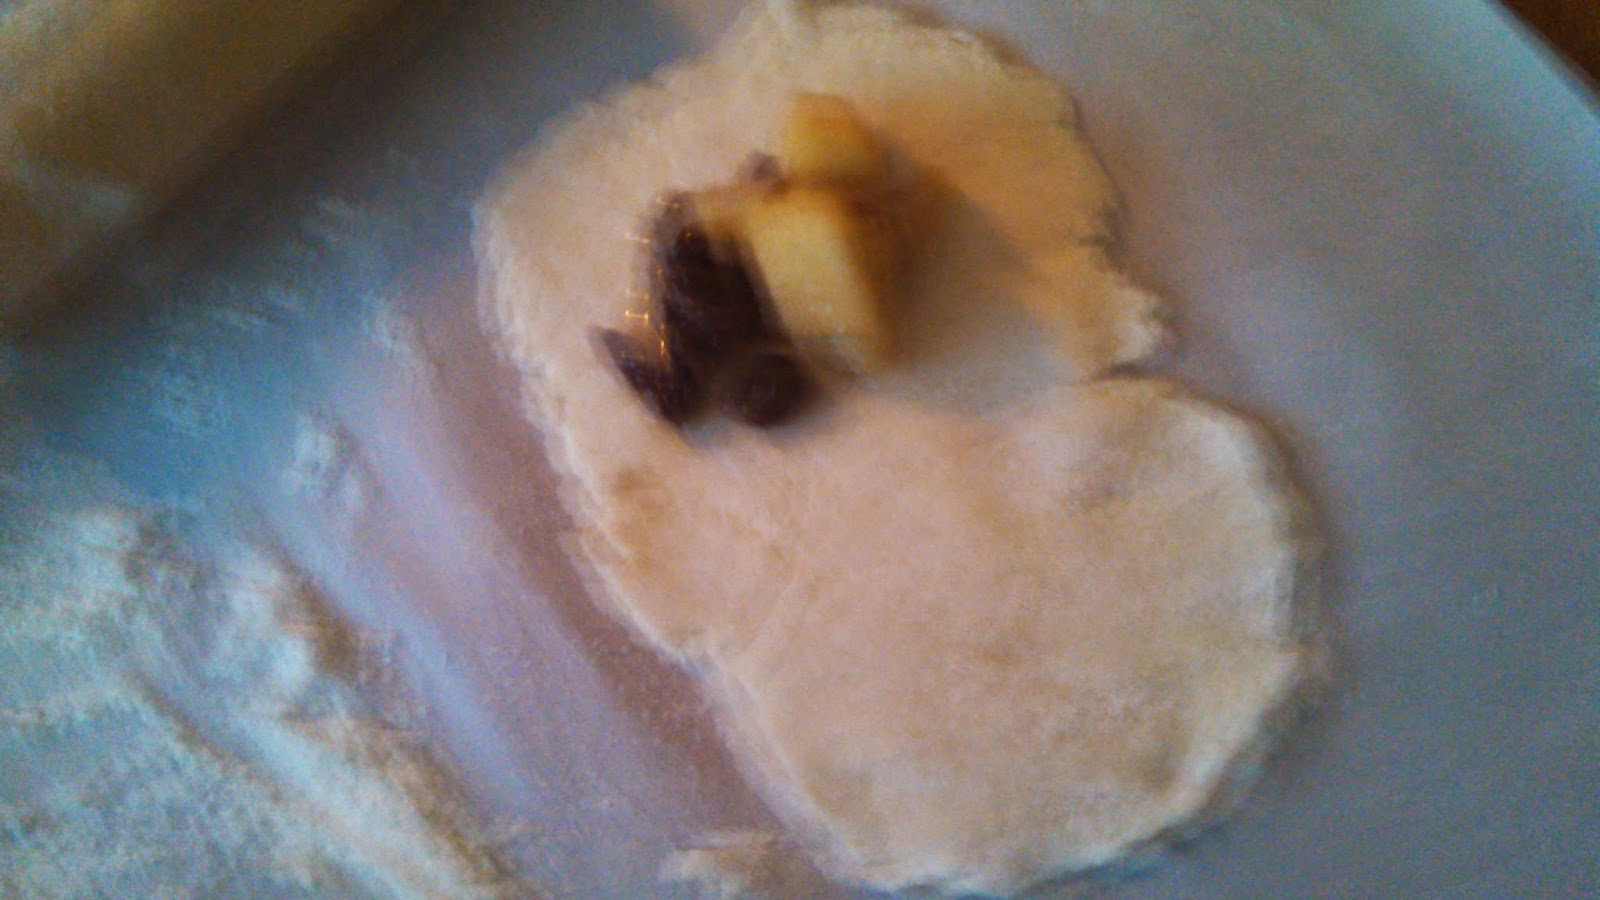
Then, break off a piece of the dough. I like to make about eight pies, and I sort of estimate, so they aren't all the same size, but if you prefer uniformity, divide the dough into eight pieces. From there, take one, roll it out (flour your hands and the rolling pin or the dough will stick again) and form a circle as best you can. From there, add a small amount of the filling, but make sure it's small. Pack it too full and it'll burst open on you during cooking.
After that, fold the dough over and fold up the extra bits hanging out. Then use a fork to crimp the ends, sealing everything up. Take the same fork, and poke holes in the top of the pie( this is called docking it) to allow steam a way out. Move the finished pie to a sheet tray, and begin to work on another one.
Then over medium heat, add the oil to a pan. Let it heat for a few seconds and add pies to the pan to cook them. Don't overcrowd the pan, they need space to cook. I stick to about two at a time. Don't worry about them sticking however, they move around a lot, and are actually a little slippery when it comes time to flip them over. Speaking of, I try to flip only once, but a quick flip and flip back to check for color won't hurt at all. Just brown them on both sides to cook the dough. It's rolled out thin enough so that the inside cooks. Move the finished ones to a platter and that's all there is to it! Store these in the fridge to keep them as long as possible, although, with the way they taste, don't expect that to be long.
There you go, two wonderful festive fall dishes. I'd like to say thanks again to Flash and Iridian for all you did for the extra life cause, as well as the whole team. I hope you all enjoy these dishes, and whether you decide to add them last minute to the thanksgiving table or not, I sure hope you'll give them a try. Foodies of the Spiral, have a happy, healthy, and safe Thanksgiving.
-Carlos
_Veteran_Terrorwing.png)


