Wednesday, August 27, 2014

Back To School Ambrosia Ice Cream


It is unavoidable. The summer is drawing to a close, and for many of us, this means a return to our schools, unfortunately of the non-magical variant. Many of you are already back in your various places of learning, and i myself go back on Friday. So I say, why not give summer the sendoff it deserves!

How you ask? Well ice cream of course! Ice cream screams summer, and we scream for ice cream. Well i don't, but i'm just sort of a softspoken person. Anyways, I wanted to make this ice cream special. To tie it to someone synonymous with a new school year. And that of course, would be Headmaster Ambrose, or as we call him, Eatmaster Mmmbrose. Ambrose has a name that sounds like only one food i know of. The classic southern dish, ambrosia.

If you've never had ambrosia, it's a bit hard to describe. I've never had it myself, but i know what goes into it, and well... let's just say it's  a dish from an older time and leave it at that. So what i did was take the essence of ambrosia, and gave it a more modern flavor profile, while sticking to its roots, and then shoved the results into an ice cream.

Anyways, here's what you'll need:
  • 1 1/2 cups of sugar
  • 1 can of coconut milk
  • 1/2 cup of blueberries
  • 1/2 cup (roughly) strawberries
  • 1 orange
  • 1 can of fruit cocktail (the classic ambrosia component)
  • 1 cup of water
  • Not Pictured: 1 banana, lemon juice
Ok so first things first! Take your blueberries and get them into a covered pot with the sugar and water. Set it over medium high heat and just let it cook for a few minutes. No need to stir, the sugar will dissolve of its own accord. Keep a close eye on it though, it can boil over in a moment's notice, and when hot berry syrup meets stove, it equals bad news. So keep an eye on it. Once you've let it go for a few minutes, it should look reddish purple in color. This is your indication to pull it from the heat, and strain it into a bowl. Press on the berries with the back of a spoon, get all the juice you can out of them.

So the next few steps are relatively easy. First, cut the tops off of the strawberries. Pretty though the leaves may be, their flavor is not too friendly. Then open up both the cans of fruit cocktail, as well as the coconut milk. Be super careful with this. I have a rather nasty scar on the knuckle of my thumb from a pull top can, and i have a hatred of the things now. So learn from my mistakes and keep it safe. Also while we're here at the cutting board, slice the orange in half and juice it. What manner of machine you use is completely up to you, i have a manual stand model myself.


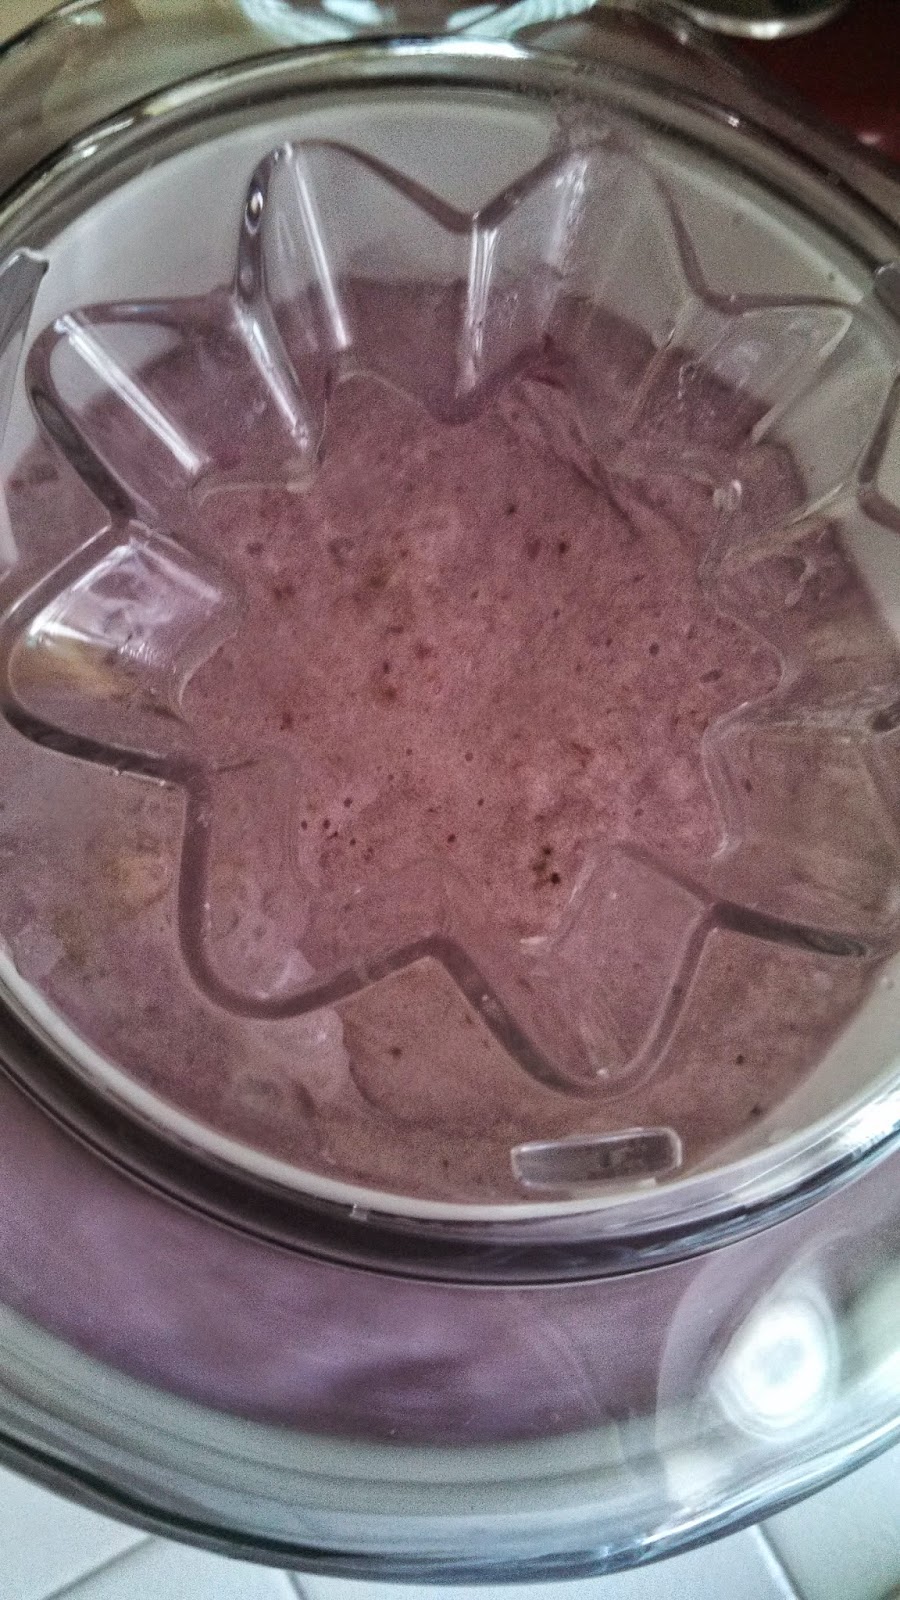
Now comes the point of assembly for the base. Add the strawberries and half of the cocktail into a blender. Make sure its a big one, this is a lot of liquid going in! Then add the orange juice, blueberry syrup, and finally the coconut milk. I add it last because, as it runs down through the blender, it looks really cool.  Then give it a whir, but do so gently. Short pulses to intergrate everything work best for me, so as not to have it overflow. It'll have a nice purple color at the end.


Now take this to the fridge for a long chill, overnight is best. This is vegan ice cream, and honestly, there isnt really enough fat in the coconut milk for it to solidify the way it needs to in the ice cream machine if it isn't done as quickly as possible. Also, make sure your ice cream churn has been in the freezer for a couple of days for it to work best. Note please, base in the fridge, don't let it get solid.

Ok, if you've done all that, the time has come for it to spin! Remember, we have to do this fast, or else things will melt on us. Set everything up, and then return to the cutting board. Break down the one banana into small pieces. Then in a bowl, combine it with the remaining cocktail and a bit of lemon juice. The lemon juice will stop the banana from oxidizing and going mushy and brown. Mushy and brown is not magical and delicious. When the mixture starts to thicken, (it'll only be somewhat) add the fruit mixture and give a minute or two to integrate. It'll take a little time, but just let it do its thing.


Once everything is well mixed, take the entire base and move it to the freezer, for a few hours at least. The ice cream will have a chance to firm up in here. After a few hours, things will be a soft serve consistency. Leave it longer, and you've got a scoopable cone friendly delight. I like to keep mine plain though, a bowl and i'm good. But hey, that's up to you.


And there you go! Ambrosia (kind of) ice cream. This one's for you Mmmbrose. so raise your wand and trade it for a spoon. I had mine at soft serve, so one scoop wasn't doing too well in terms of solidity. Anyways, thank you for reading, and I hope you'll try this out. And hey, double win! It's vegan, so our animal friends can be happy too. If you don't tell people, they wouldn't even know! So be sure to try this out, and send in a comment if you run into any problems or questions. Foodies of the Spiral, UNITE!

Sunday, August 24, 2014

Granita for Lincoln (AKA COFFEE!)

Well this won't be my first official recipe post. I had one planned but mr. ice cream machine is being well... we'll try again tomorrow. In the meantime, i'll post one of my old videos here. This is a recipe for granita. Granita for those who don't know, is a cold ice Italian frozen dessert.  In can come in many flavors and is very customizable, but this here is my old standby. I've lost track of the amount of times i've made it, and i've committed the whole recipe to memory. I suppose then that this would make a fitting second post, as this dish holds a personal connection to me. So without further ado, here's Lincoln's coffee granita.

Ingridients:
2 cups of warm to hot coffee
1/2 cup of sugar
zest from one orange
a teaspoon of vanilla extract

1. zest up that orange, zest it good!
2. Combine everything in some sort of glass, stir until the sugar is dissolved. This will be easier if the coffee is hot.
3. Pour into a metal pan, make sure it doesn't come up the sides of the pan too much.
4. Send that bad boy to the freezer.
5. When it's had time to chill out and think about what it's done (fully frozen) it's time for vigilante justice!
6. Scrape it with a fork to make it light and fluffy.
7. Mound it up high into a glass (fancy would be best.We're classy here in the spiral's kitchen), and add whipped cream (home made is best, but if you use a can, i won't tell!)
8. Optional: More fresh orange zest on top. Nice but, not needed.

And that's all there is to it! Very easy, yet extremely rewarding. You see why I love it. Thanks for taking the time to read this, and give it a try! You'll like it, i'm sure. I'll leave the video below if that is of interest to you. Thanks for reading my fellow spiral foodies. :)


Tuesday, August 19, 2014

What's Cooking, Good looking?


Hi there everyone. If you're reading this, you've stumbled across the spiral's first ever cooking blog. Yes that's right a cooking blog! Here you'll be able to learn how to make some awesome dishes that will turn Headmaster Ambrose into Eatmaster Mmmbrose. If you're not sure what that means, well i play a game called Wizard101. This here is going to be a fan cooking blog for the game. It may sound like an odd  concept, but hey, stranger things have happened.

So, what can you expect on this blog? Well basically, fanboy meets magic, meet kitchen. I've loved cooking my whole life, and as soon as i was let in the kitchen, i never left. I also love Wizard101 in a big way. I'm a big fan of the story, and i love the worlds and the art and the pets and well, there isn't too much i don't like about it. 

For you, it means that every so often i'll post about a dish i've made, that in some way relates to the game. Perhaps a community member, perhaps an NPC, perhaps an area. Sometimes i'll have a video to accompany my post, but it'll be a case by case instance. More recently, i even took up the challange of recreating a pet snack from the game. Not fun for me (gelatin is an evil food. No exceptions). I'll leave a video of said endeavor at the bottom of the post. 

I'm excited to go on this blogging journey (uncharted territory here!), and i hope you'll excited to come with me. Food and wizard101 and things i both love, so it's no surprise the two managed to coalesce. Please note with school going on, things will be a bit, slow to put it nicely. I'll try my best to post every 2-3 weeks. If i don't please know i don't mean it, and i haven't gone away. It just means homework has taken the time up. I'd like to thank you for reading, and I hope you're ready to see the spiral from my side of the spoon. :)

"The Culinary Conjurer" Carlos Trollfist